


How To Clean Your Dog’s Ears
FREE SHIPPING FOR ALL ORDERS OF $49
Cleaning your dog’s ears is an essential part of the grooming process. If your dog’s ears are not kept clean and dry, he could end up suffering from infections, parasites, inflammation, and skin lesions, as well as several endocrine disorders. If your dog is shaking his head often, has an odor near his ears, or is scratching often, it is time to clean his ears. Doing so only takes a few minutes.
Before you sit down to clean your dog’s ears, you’ll want to make sure you have all the necessary supplies on hand. Depending on the size of your dog’s ears, you’ll need 10-20 cotton balls. Never use cotton swabs (Q-Tips) in your dog’s ears. You can scratch the canal or puncture the eardrums and cause serious damage (which is also why you shouldn’t use them in your own ears!).
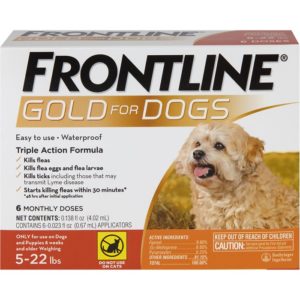
It is also important that you use a pet-safe ear cleaning solution, such as Vetoquinol Cerumene Ear Cleaner for Dogs and Cats . The proper cleanser will soften and loosen earwax, dries quickly, and can prevent buildup when used regularly. You’ll need a towel or a blanket for after the ear cleaning, and if your dog has a lot of hair near his ear canals, you’ll also want a pair of clippers.
The reality is that your dog probably won’t want to have his ears cleaned, which means you’ll need to get a little bit creative. If you can, secure him on a safe table or your lap. He will probably come to you if you give him a few treats. If your dog is particularly against being secured for his ear cleaning, you might consider using calming treats to help him stay more relaxed. If you use calming treats, be sure to follow the directions according to your dog’s weight and check the ingredients if your dog has any allergies.
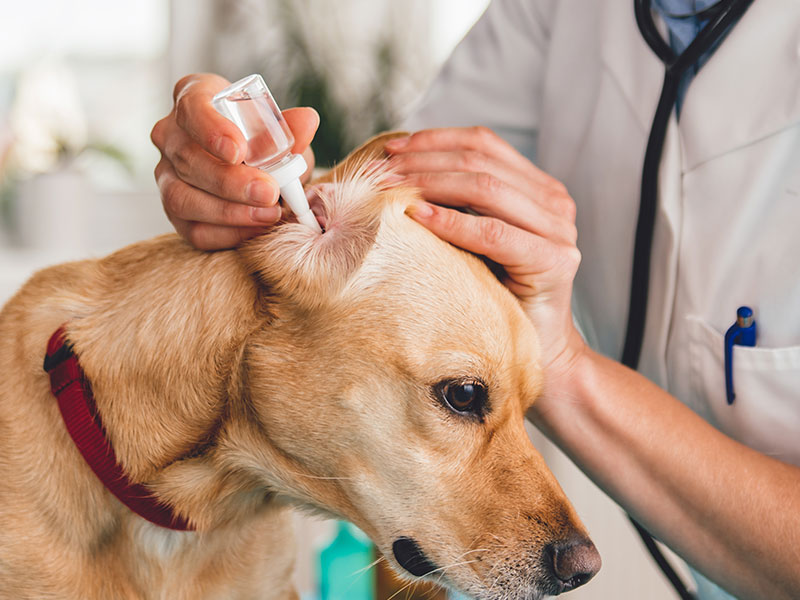
While holding your dog securely, grasp one of his ears and lift it up. This will expose his ear canal and straighten it out to make it easier to clean. Squeeze some of the cleaning solutions you bought into his ear. Be sure to use enough to fill the ear canal, and it is okay if some spills out. Be sure not to touch the tip of the bottle to your dog’s ear, though. Doing so can spread bacteria or yeast. If the bottle touches accidentally, wipe the tip off with a clean, alcohol-soaked cotton ball.
After putting the cleaning solution into your dog’s ear, continue to hold his ear in a vertical position. Use your other hand to massage right below his ear opening. Do so for about 30 seconds will help the solution to break up earwax in your dog’s ear. You may hear some “squishing” sounds, which are completely safe and normal.
After massaging, you can use a cotton ball to wipe away any debris from the upper ear canal and ear flap. After doing so, let your dog shake his head. This helps him to remove any other debris or remaining solution from his inner ears, allowing you to wipe it from his outer ear. Remember to only enter his ear canal as far as your finger will go, never trying to force your hand further. Repeat the process on your dog’s other ear.
If your dog’s ears looked red or otherwise sore while you were cleaning them, it is a good idea to apply medication such as Oticbliss Anti-Bacterial & Anti-Fungal Medicated Ear Flush for Dogs and Cats . The steps for medicine application are much like the steps for cleaning your dog’s ears. You’ll need to grasp his ear and pull it straight up to expose the canal again. Again, avoid allowing the tip of the bottle to touch your dog’s ear. Apply the number of drops according to the directions, then continue holding the ear up and massage it for about 30 seconds. This allows the medicine to work its way into your dog’s ear. You may also need to apply an ointment to his ear flaps. If so, use a glove to ensure no transfer of bacteria. Repeat the process on the other ear.
Every dog is different, so there are a few tips and tricks to keep in mind that may help you throughout the process. If you have a larger dog, it may be easier to have him sit in a corner and stand above him, especially if you can’t reach his ears when he sits in front of you. It is also important to keep in mind that head-shaking can mean cleaning a dog’s ears is messy. You’ll want to do this in a bathroom or in another room that you won’t mind cleaning up afterward. Finally, never use hydrogen peroxide on your dog’s ears, even if they look infected. Peroxide can actually cause irritation of healthy skin cells and may even cause permanent damage to the ears with prolonged use.
Depending on your dog’s breed, you will need to clean his ears 1-2 times per month. If your dog is a swimmer, drying his ears thoroughly after being in the water will further help to keep them clean as well as prevent infection If your dog simply won’t allow you to clean his ears, or if there seems to be a severe infection, contact your veterinarian for help.


No account yet?
Create an Account